Session 3 - Pixel Classifier#
Goal: Learn how to use a machine-learning pixel classifier to segment Regions of Interest
YouTube video walkthrough: Session 3
1. Preparation#
First, export an image of your manual annotations using the method discussed in Session1 (
File > Export images > Rendered RGB (with overlays))Delete the Tumor annotation, leave the tissue Region* annotation alone.
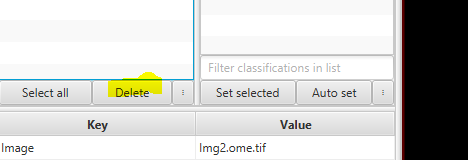
Make sure the tissue annotation is locked (it should be already).
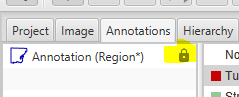
If you don’t see the lock symbol, right click the annotation in the Annotation list and click
Lock.
Turn on all channels except the blank channels.
2. Train a Classifier#
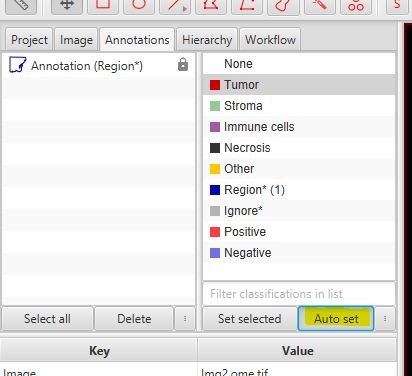
Within the class list, select ‘Tumor’ and then click “Auto set”
Use the
Polylinetool to draw some squiggles over the cancer region.
These will be automatically assigned the “Tumor” class
Get near the edges without going over into the tissue stromaWithin the class list, click on ‘Ignore*’
Draw some lines over the non-cancer (S100 negative) region using the Polyline tool. Also draw 1 small line in the non-tissue background region
Open up the classifier training window:
Classify > Pixel classification > Train pixel classifierClick on
Live PredictionYou’ll see results that look something like this:
![]()
If you can’t see anything, make sure the C button is selected and that the transparency slider is all the way to the right

Iterate! Add new annotations to correct errors until the results looks better. You’ll find that some small issues won’t go away with additional training.
Adjust Classifier Features and Settings Choosing the best features and settings for a classifier is both essential and complex. We’ll begin talking about it now, and we’ll keep coming back to it throughout the course.
Increase the resolution (lower pixel size) to smooth the results, decrease the resolution (higher pixel size) to make it process faster
To change the features that the ML algorithm uses for its math, click “Edit” next to “Default Multiscale Features”
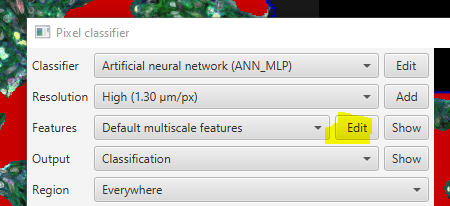
Recommended settings for this example:
Resolution: High (1.30 um/pixel)
Channels: Hoechst, AF1, PDL1, CD45, S100a
Scales: 1.0, 2.0, 4.0
Features: Gaussian, Laplacian of Gaussian
Iterate until you are happy.
In the classifier training window, name your classifier ‘TumorPixelClassifier’ and click Save
In the main window -
File > Saveto save your image and training annotations. DO IT NOW.
3. Include multiple images in training#
A classifier trained on a single image cannot be extrapolated to other images. You must always train on a representative sample of the data in your project.
Double check that you have saved your current image.
Within the Project tab, double click on LungImg1.ome.tiff to open it.

The classifier probably does not look good!
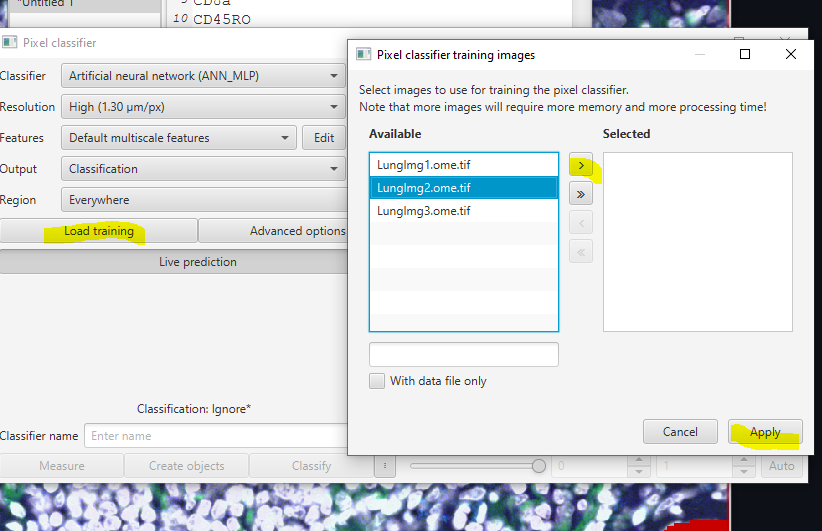
Load the LungImg2 training data. Within the classifier trianing window, go to: Load training, select LungImg2.ome.tiff, then click > and Apply
Add new training annotations to improve the classifier. Also, try adjusting the features, sizes, and channels to see how these paramters affect the results.
When it looks (acceptably) good, repeat steps 2-4 above with LungImg3.
At the end, revisit LungImg2 to make sure these changes didn’t ruin anything.
Save the classifier. It will ask you if you want to overwrite the existing file- click Yes.
4. Creating Objects using the classifier#
The classifier itself is just a way to determine if a pixel belongs to the tumor or not, depending on intensity and context. Creating the object that outlines the tumor (segmentation) is a separate step.
Before creating the object, we are going to save a copy of our training annotations. First, save your current image! Then, go to your project folder by right clicking on the name of any image in the Project tab and selecting
Open directory > Project...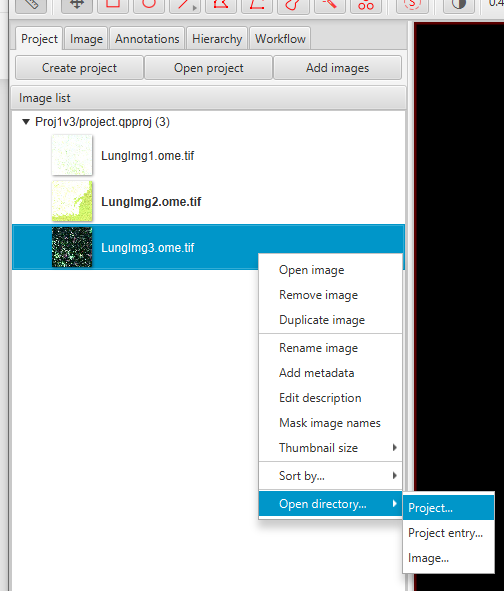
Go up one more folder to copy-paste the entire QuPath project folder to create a duplicate. Name it something like ‘Tumor Classifier Training’
Make sure you have LungImg2 open. To delete all of the training annotations, hold Ctrl and click on the classes ‘Tumor’ and ‘Ignore*’. Then,
right click > Select objects by classification. Then, Delete
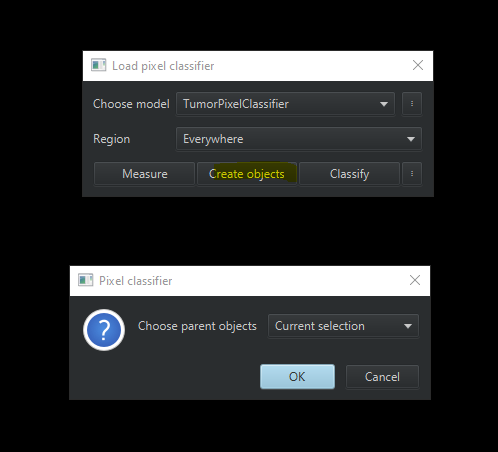
Load the pixel classifier:
Classify > Pixel classification > Load Pixel Classifier. In the dropdown, choose the Tumor clasisfier you just made.Select the Tissue annotation by using the same process as Step 3. Select the ‘Region*’ class,
right click > Select objects by classification. With it selected, in the Load pixel classifier window, clickCreate Objectsand when it asks about Parent Objects, chooseCurrent Selection
This will bring up the Create objects window, similar to when we created the tissue annotation. Use these settings:
New object type: Annotation
Minimum object size: 500
Minimum hole size: 500
The Tumor region should be a “child” of the tissue region. To validate, look at your Hierarchy tab. The tumor should be “under” the Region* annotation.
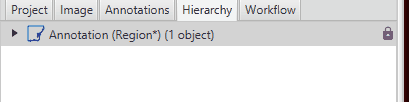
If they are the same level, delete the tumor, select the tissue, and then remake the tumor.